
How to Set Up & Use Ribalta Mobile App
A simple guide to creating and running your event
Step 1: Create or Select an Event
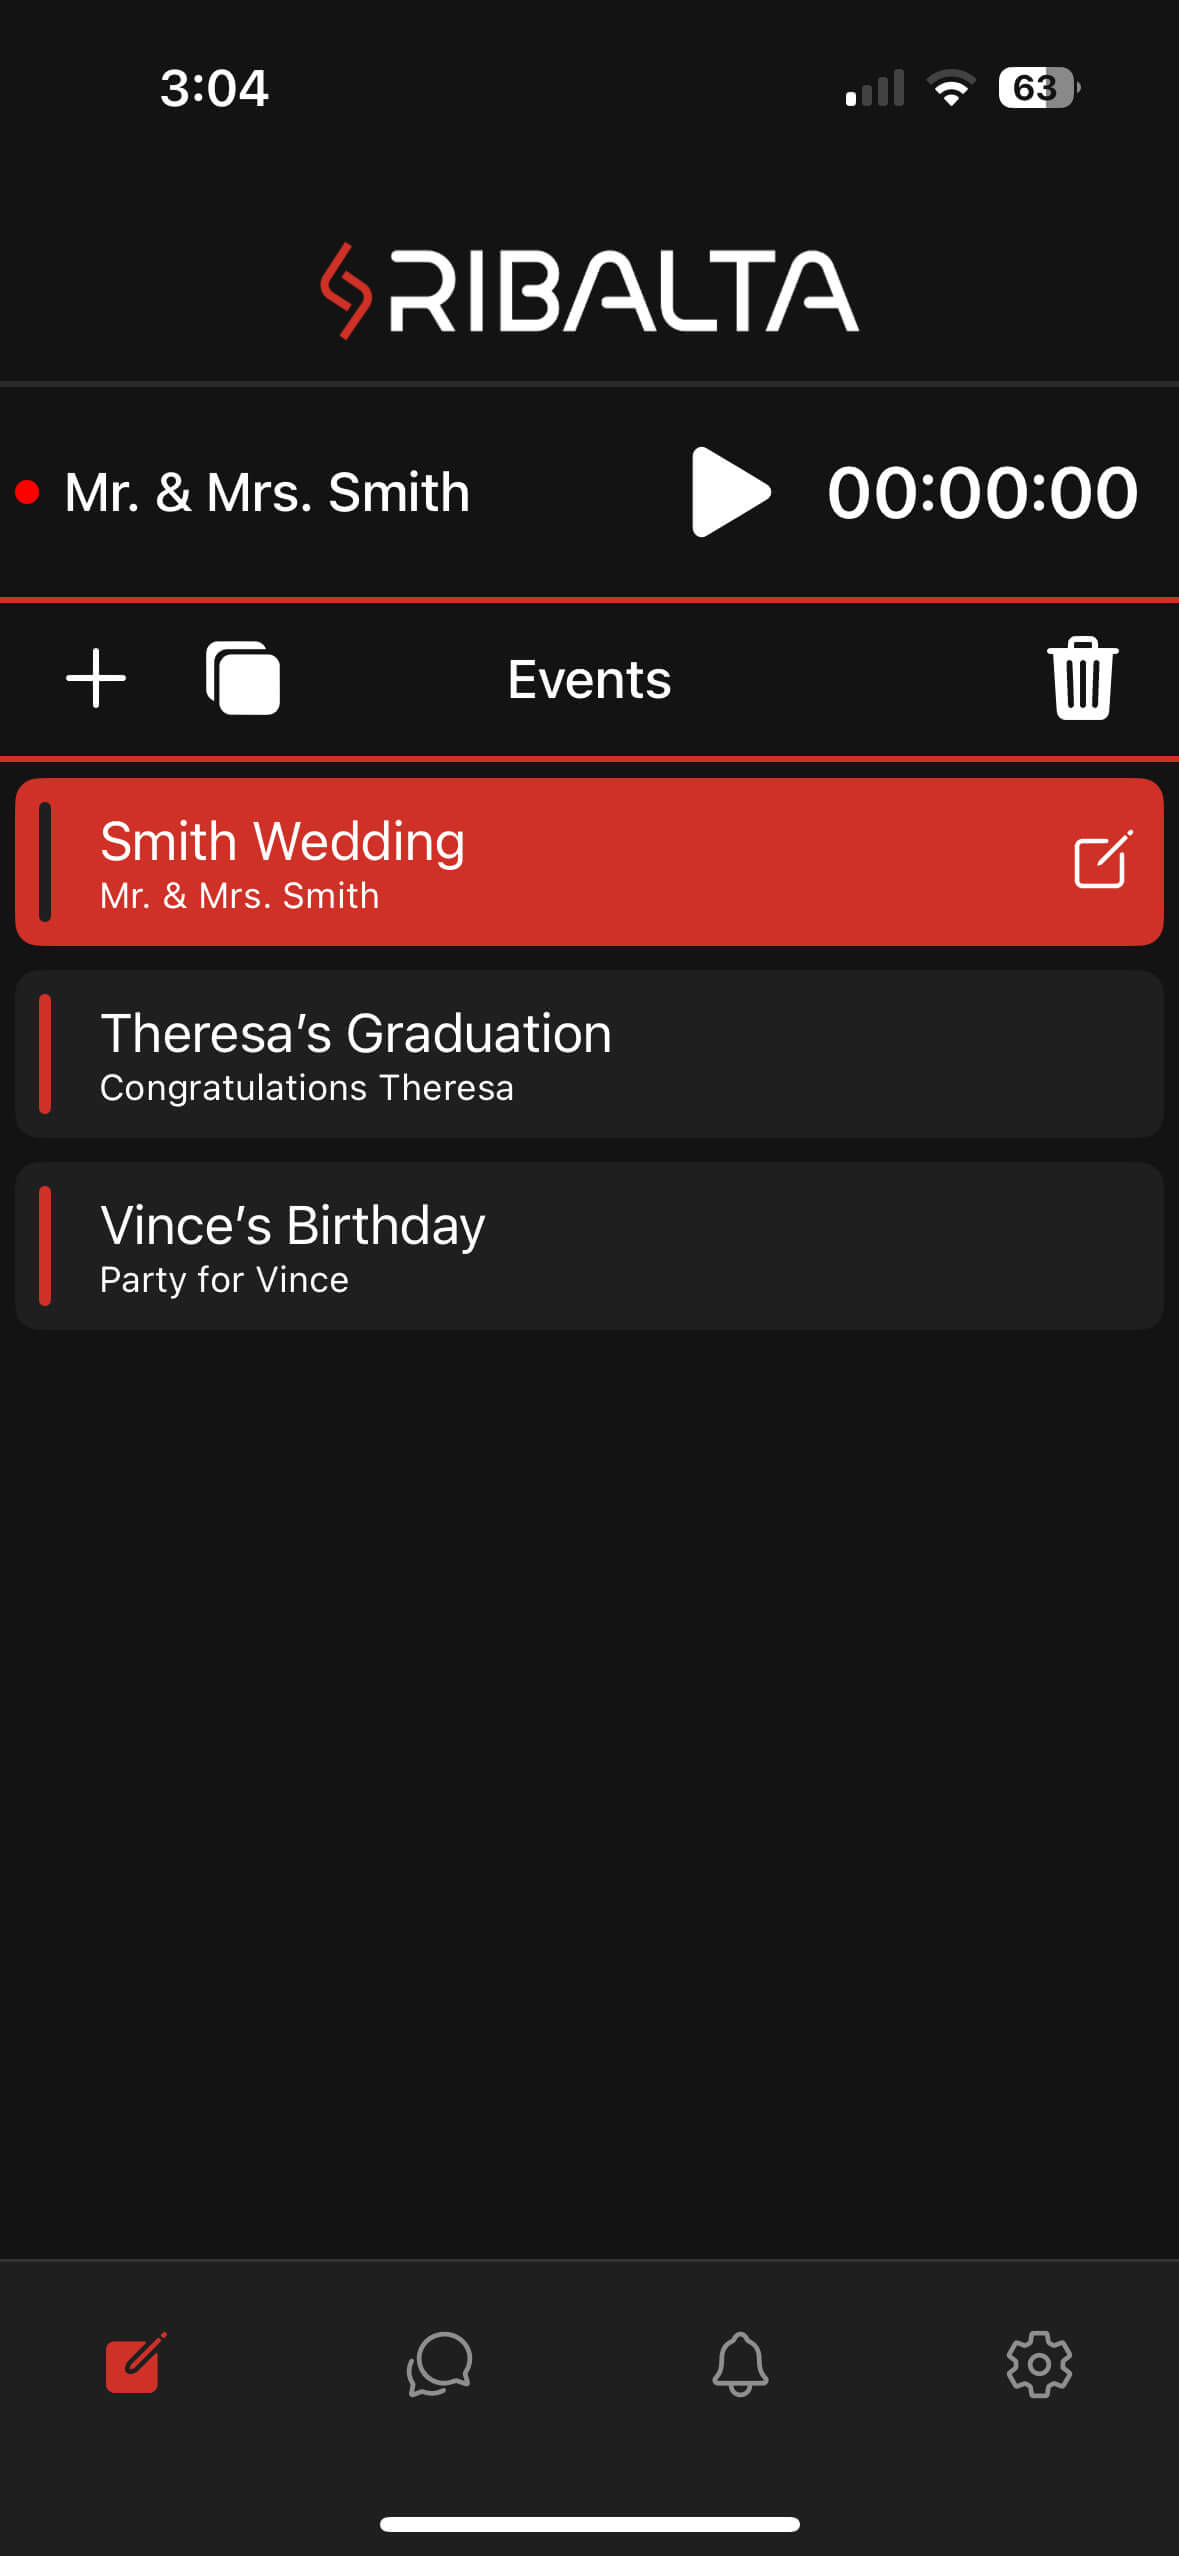
When you open Ribalta, you’ll land on the Events screen.
- Tap ➕ Add Event to create a new event
- Or tap an existing event to manage it
- You can create multiple events (weddings, birthdays, graduations, etc.)
👉 Your selected event will highlight in red.
Step 2: Start Your Event
Once an event is selected:
- Tap the Play ▶️ button to start the event timer
- A green dot means the event is live
- A red dot means the event is stopped
⏱ The timer helps track when your event is actively collecting photos.
Step 3: Share Your Event With Guests
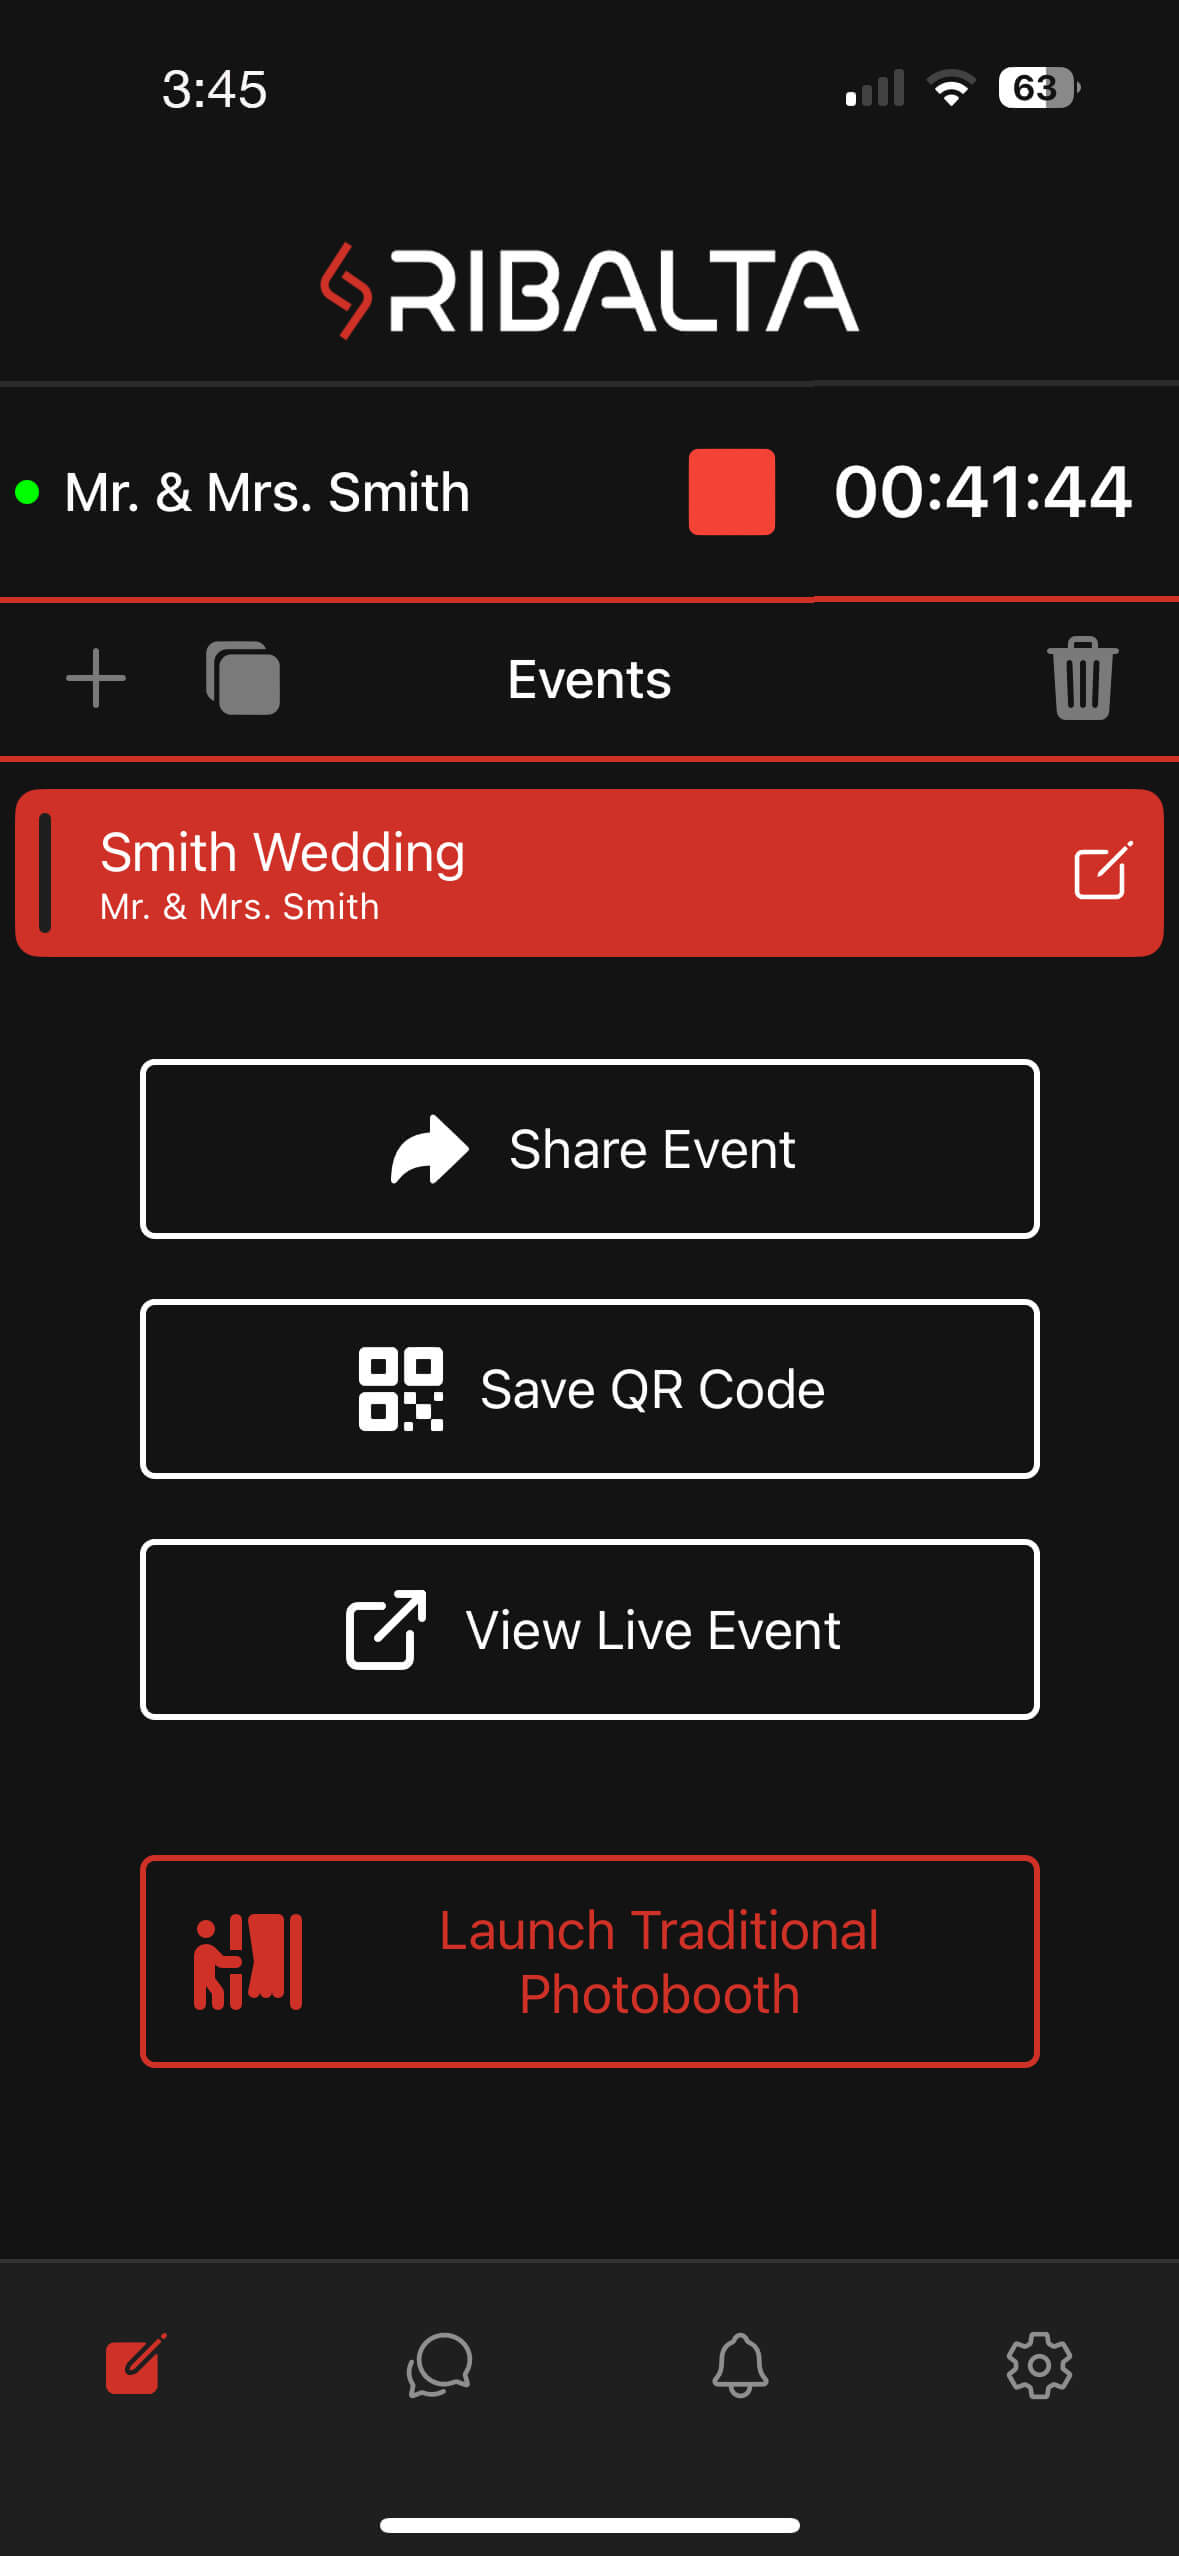
Inside your event, you’ll see several options:
- Share Event – Send the event link to guests
- Save QR Code – Download or print the QR code for signage
- View Live Event – See the live gallery in real time
📸 Guests scan the QR code to upload photos instantly — no app download required.
Step 4: Approve Photos in Real Time (or use Auto-Approve “Optional”)
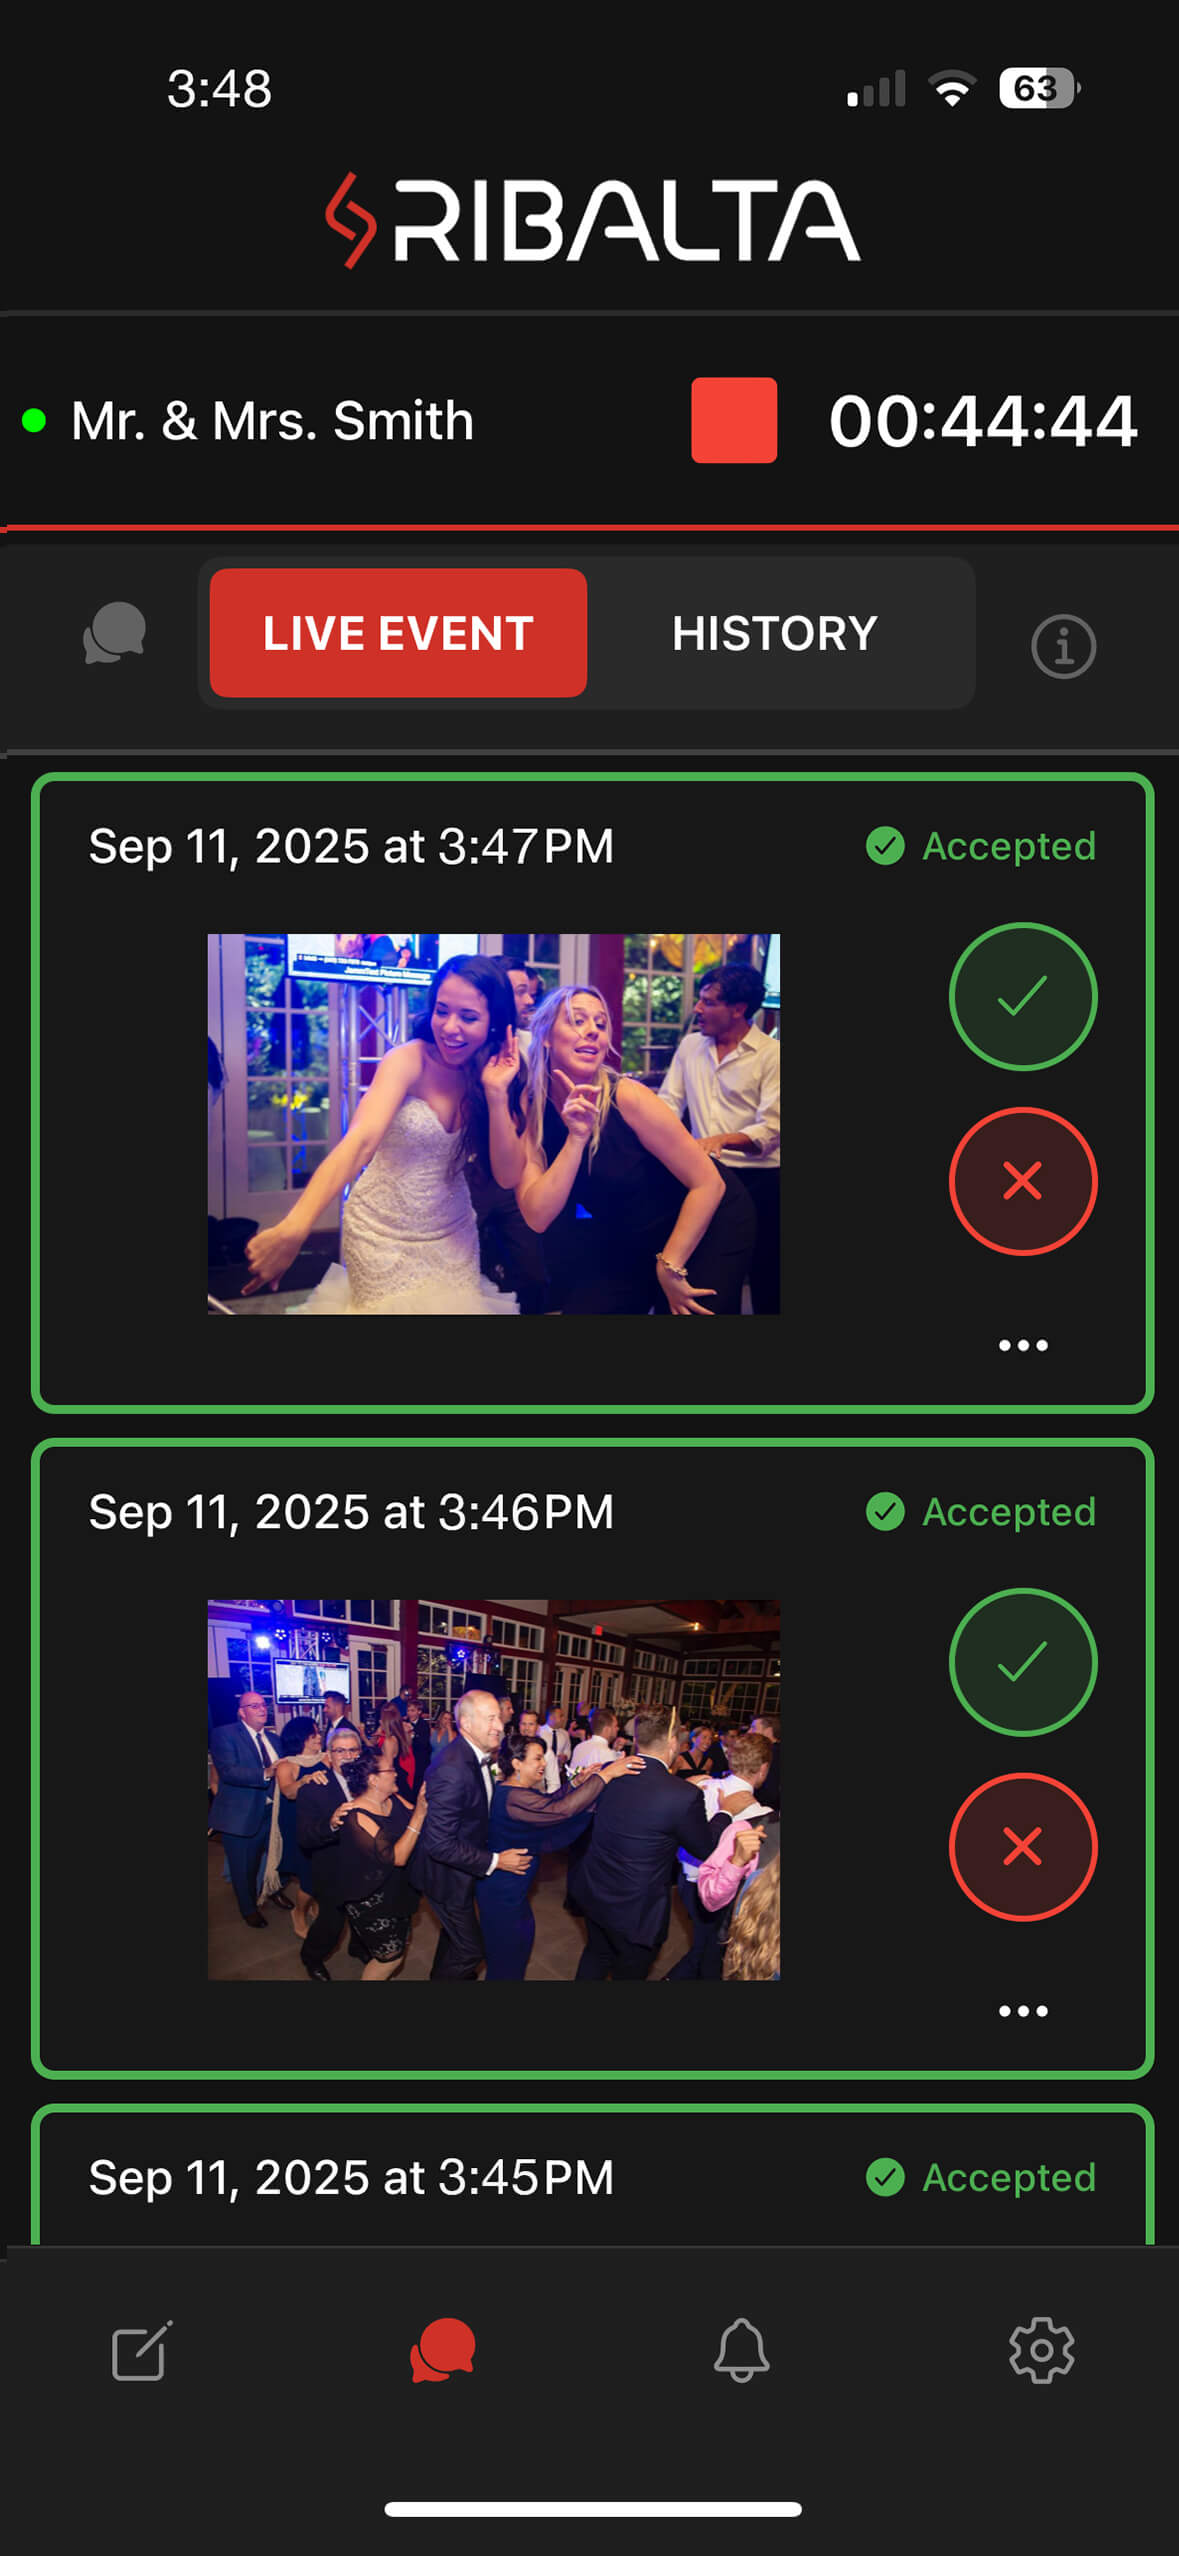
As guests upload photos, they appear in the Live Event feed.
For each photo you can:
- ✅ Approve – Photo appears in the gallery & media wall
- ❌ Reject – Photo is hidden
- ⋯ More Options – Download images or Delete post
Please note that all pictures that you approve will display on the screen in order after you approve them.
For example, if you have 8 pending pictures and approve all 8 pictures at once, Ribalta will add them to a
queue and display them in the order in which they were received, mixing in advertisements and audience
instructions. There is no need to pace yourself in approving pictures. Filter several pictures at once when
you have time, and Ribalta will handle the rest.
☁️ Ribalta is cloud-based — you can approve photos from any device logged into your account.
Use Auto-Approve (Optional)
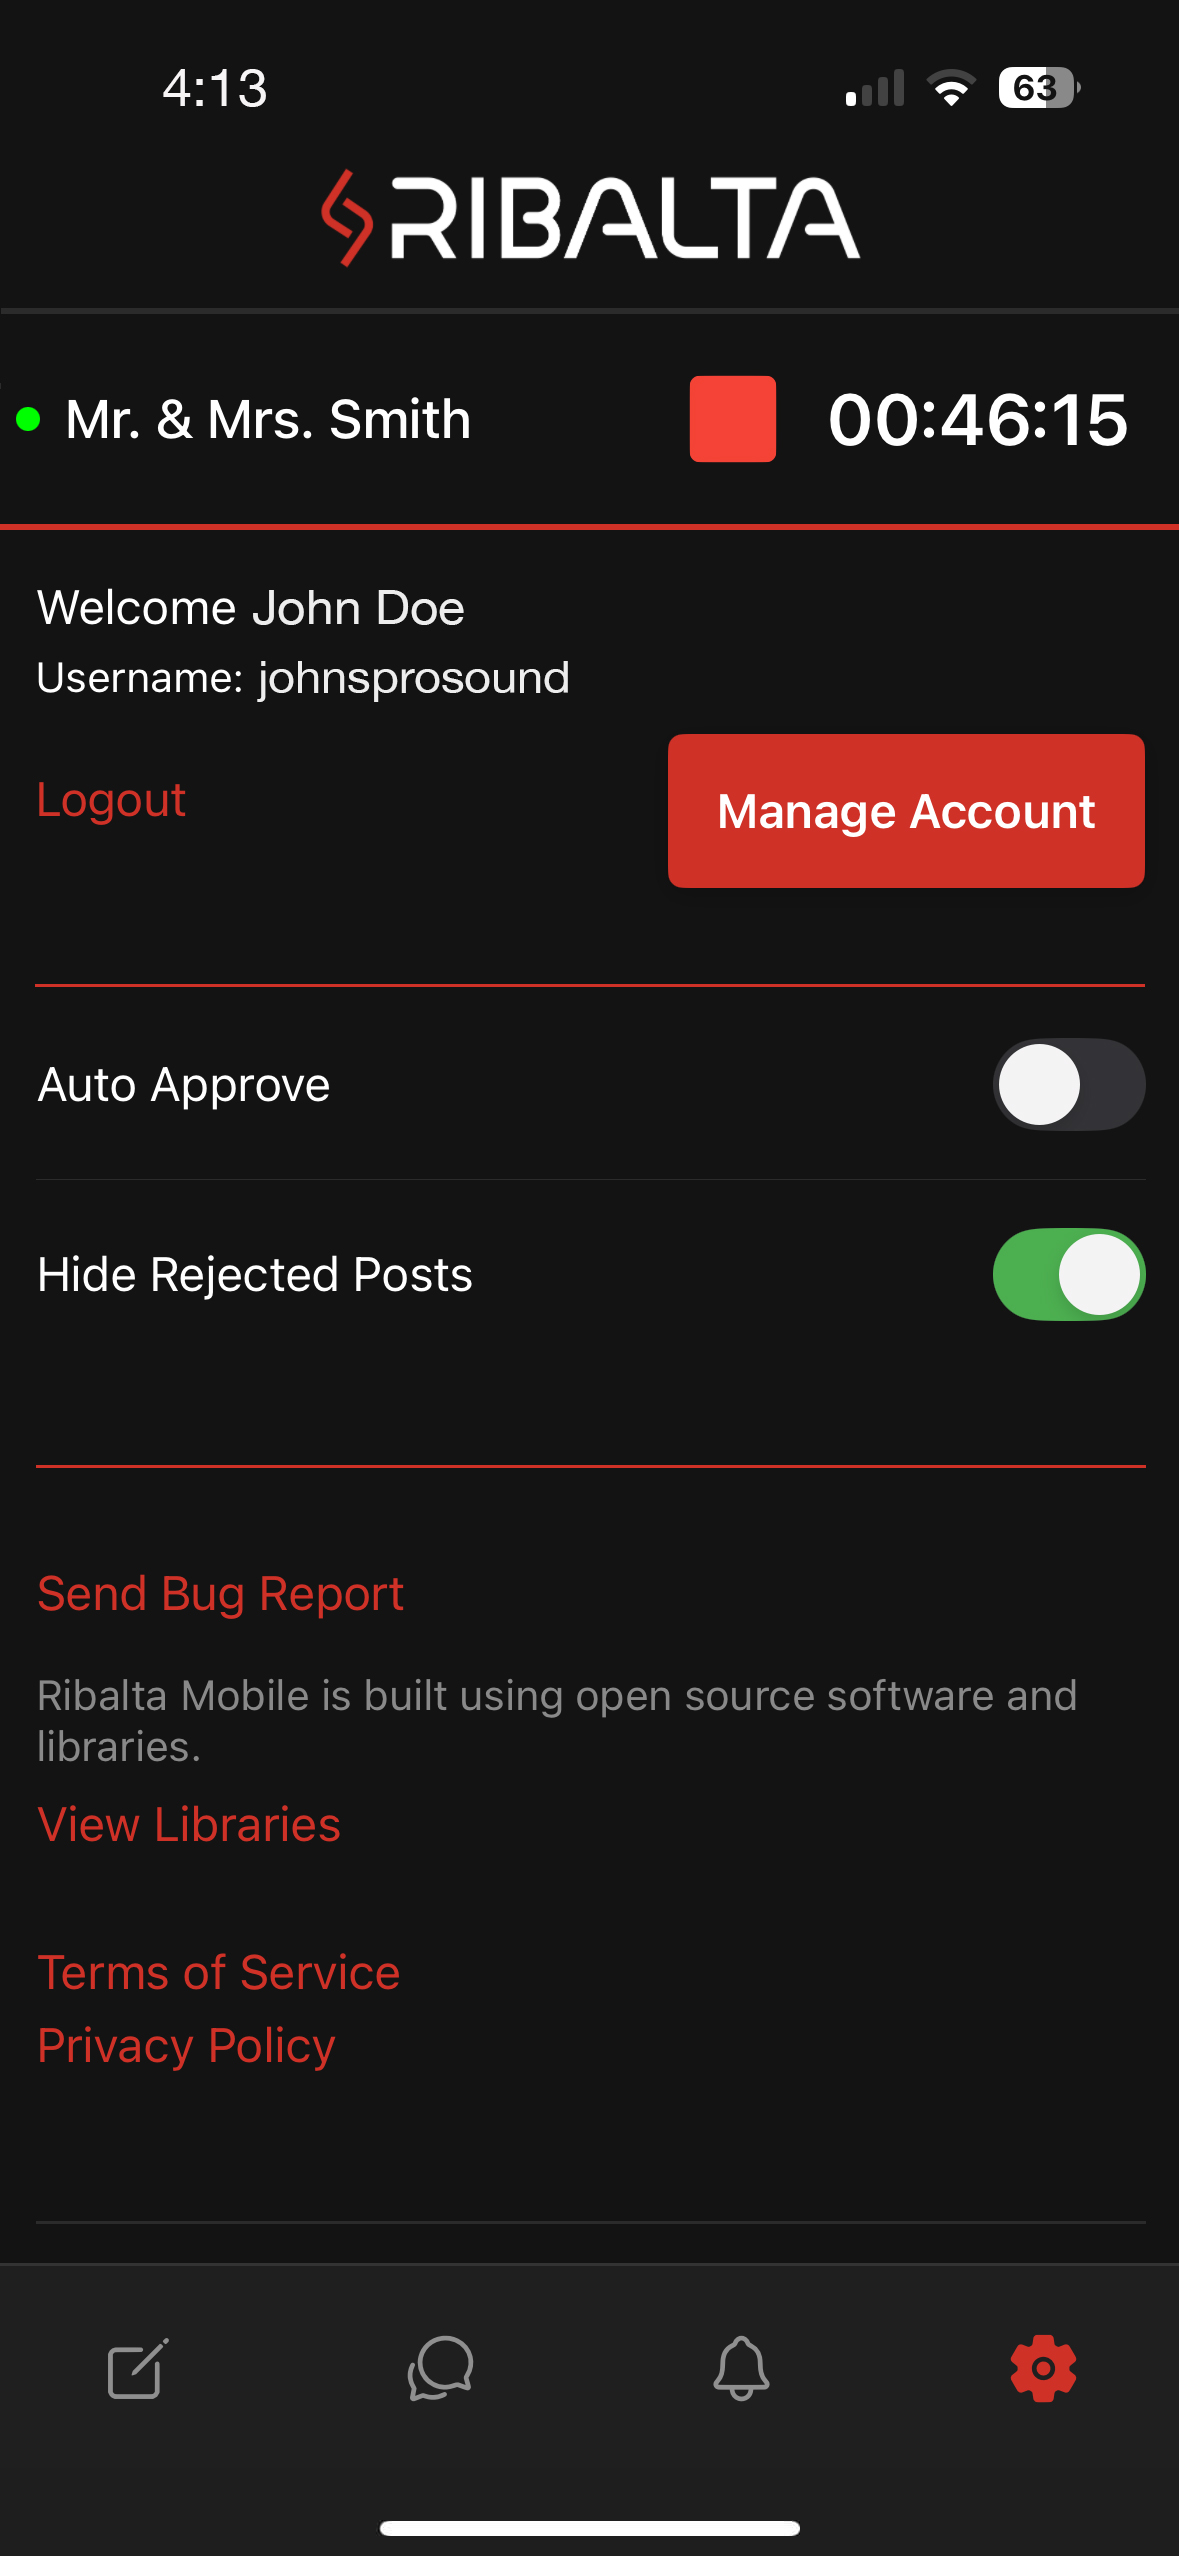
If you don’t need to manually filter photos:
- Go to Settings
- Turn off Manual filter
- All guest photos will instantly appear in the gallery
You can also:
- Toggle Hide Rejected Posts
- Manage your account
- View legal & app information
Other Options
Launch the Traditional Photobooth
If you’re using Ribalta with a physical photobooth setup:
- Tap Launch Traditional Photobooth
- This opens the camera experience for booth use
(Desktop version required for displaying the media wall)
Access Event History
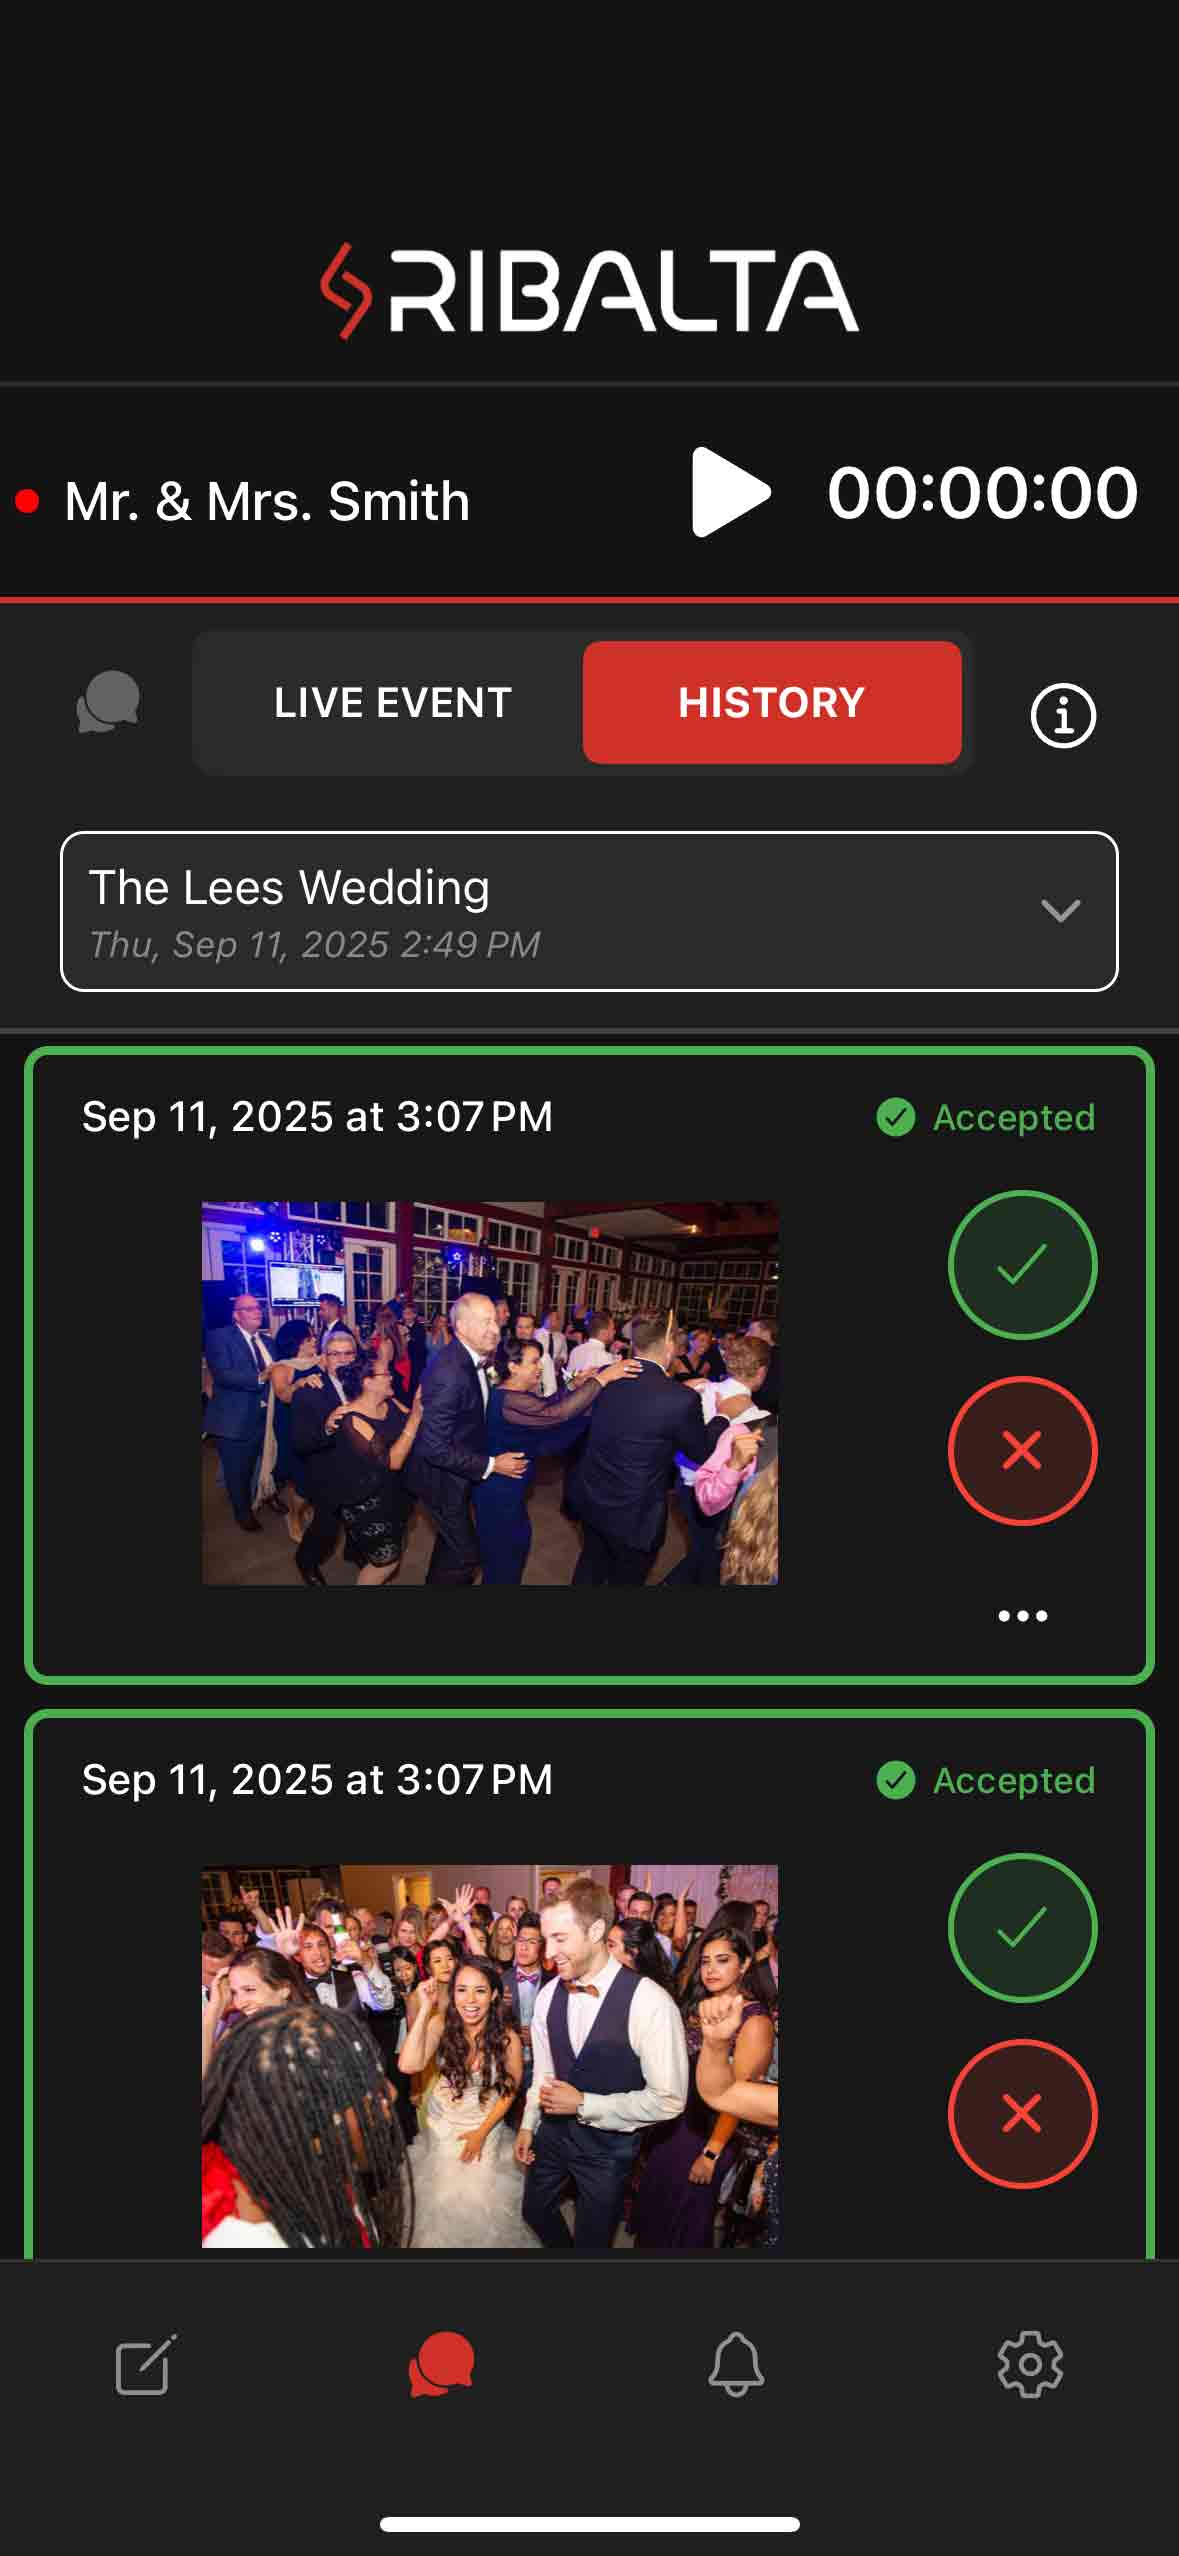
After your event ends:
- Switch to the History tab
- View all approved photos from past events
- Keep memories saved and organized
Helpful Tips
- You can control your event from multiple devices at once
- Use a tablet or phone for approvals while the desktop displays the media wall
- QR codes work great on welcome signs, table cards, or screens
You’re Ready 🎉
That’s it!
Create an event → Share the QR code → Approve photos → Enjoy the moment.